If you’re just learning to crochet, face scrubbers are the perfect first project! They’re small, quick, and let you practice the same stitches over and over until they feel natural.
This was one of the first patterns I mastered when I started crocheting. Once you get the hang of it, you can make one in just 10-15 minutes. As your skills grow, you can play with different sizes, colors, and styles!
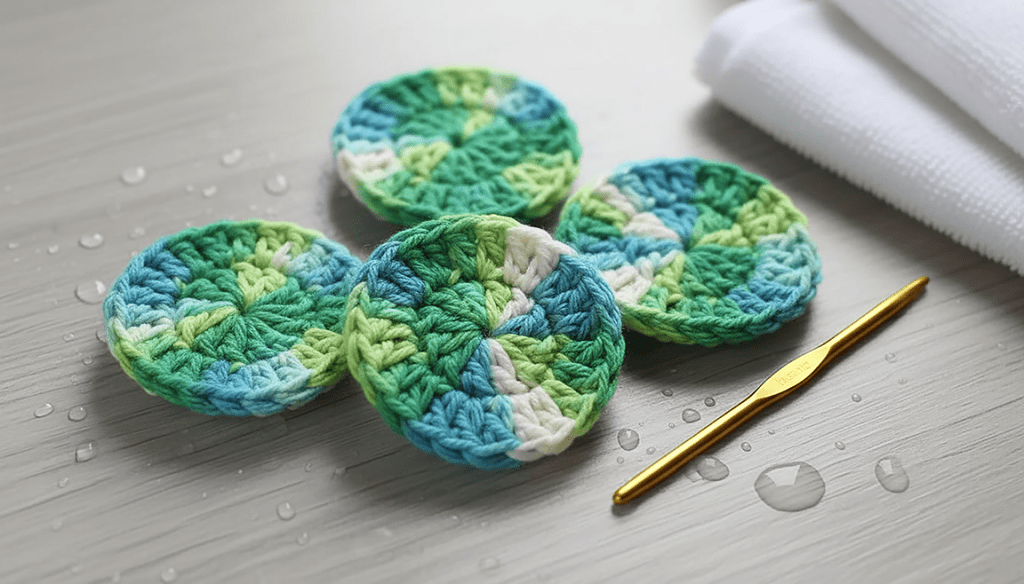
What You’ll Need
Gather these simple supplies before you start:
- Yarn: 100% cotton, medium weight (Peaches & Cream is budget-friendly and great for beginners—you can find it at Walmart)
- Crochet Hook: Size H/8 (5mm)
- Scissors
- Yarn Needle (for weaving in ends)
Stitches Used
Here’s a quick guide to the abbreviations in this pattern:
| Abbreviation | Meaning |
|---|---|
| ch | chain |
| dc | double crochet |
| sl | slip stitch |
| st | stitch |
The Pattern
Getting Started
Create a magic circle. (New to magic circles? They’re easier than they look—just search “magic circle crochet tutorial” for a quick video!)
Round 1
Chain 2 (this does not count as a stitch). Work 12 dc into the magic circle. Slip stitch to join. (12 stitches)
Round 2
Chain 2 (does not count as a stitch). Work 2 dc in the same stitch. Continue working 2 dc in every stitch around. Slip stitch to join. (24 stitches)
Want a small scrubber? Stop here! Fasten off, cut your yarn, and weave in the ends with your yarn needle.
Round 3 (Optional—for a larger scrubber)
Chain 2 (does not count as a stitch). Work 2 dc in the first stitch, then 1 dc in the next stitch. Repeat this pattern (2 dc, 1 dc) all the way around. Slip stitch to join. (36 stitches)
Fasten off and cut your yarn. Weave in the ends.
Finishing Up
Use your yarn needle to weave in any loose ends. Pull gently on your magic circle to close any gap in the center. Done!
Tips for Beginners
- Don’t stress about the magic circle. It takes a few tries to get comfortable. You can also chain 4 and slip stitch to form a ring instead.
- Count your stitches. It’s easy to miss one or add extra. Counting keeps your circle even.
- Try different colors! These make great gifts when you bundle a few together.
- Practice makes perfect. The more you make, the faster and neater your stitches will become.
Why Cotton Yarn?
Cotton is the best choice for face scrubbers because it’s naturally absorbent, machine washable, and gets softer with each wash. Avoid acrylic yarn for this project since it doesn’t hold up as well to moisture.
How to Care for Your Face Scrubber
Taking care of your handmade scrubber is easy! With proper care, it can last for months.
After each use:
- Rinse with warm water and squeeze out the extra moisture
- Hang to dry or lay flat in a spot with good airflow
Weekly cleaning:
- Toss it in the washing machine with your regular laundry
- Use warm or hot water to kill bacteria
- Tumble dry on low or air dry
When to replace:
- If it starts to smell even after washing
- When it looks worn out or loses its shape
- Every 2-3 months for best results
Pro tip: Make a few scrubbers at once so you always have a fresh one while the others are in the wash!
More Ideas
Once you’ve nailed this basic circle, try making them in different sizes or adding a border for a decorative edge. You could also attach a small loop for hanging!
Happy crocheting!

Leave a comment